Blogs
A Complete Guide to Solar System Installation for Homes and Businesses
This blog explains solar system installation in simple terms, covering how solar power works, the installation process, key components, and the benefits for homes and businesses. It helps readers understand what to expect before installing a solar system and how it can reduce energy costs and provide reliable power.

Solar Sizing Calculator – Calculate Solar Panels, Batteries & Inverter Size
Learn how to use a solar sizing calculator to accurately determine solar panel capacity, battery bank size, inverter rating, and charge controller requirements for homes, offices, and business

How to Choose the Right Electrical Distribution Board for Your Home or Business in Nigeria
Looking for the best electrical distribution board in Nigeria? Discover how to choose the right distribution board for your home or business, understand important safety features, and find reliable electrical solutions that ensure efficient and secure power distribution.
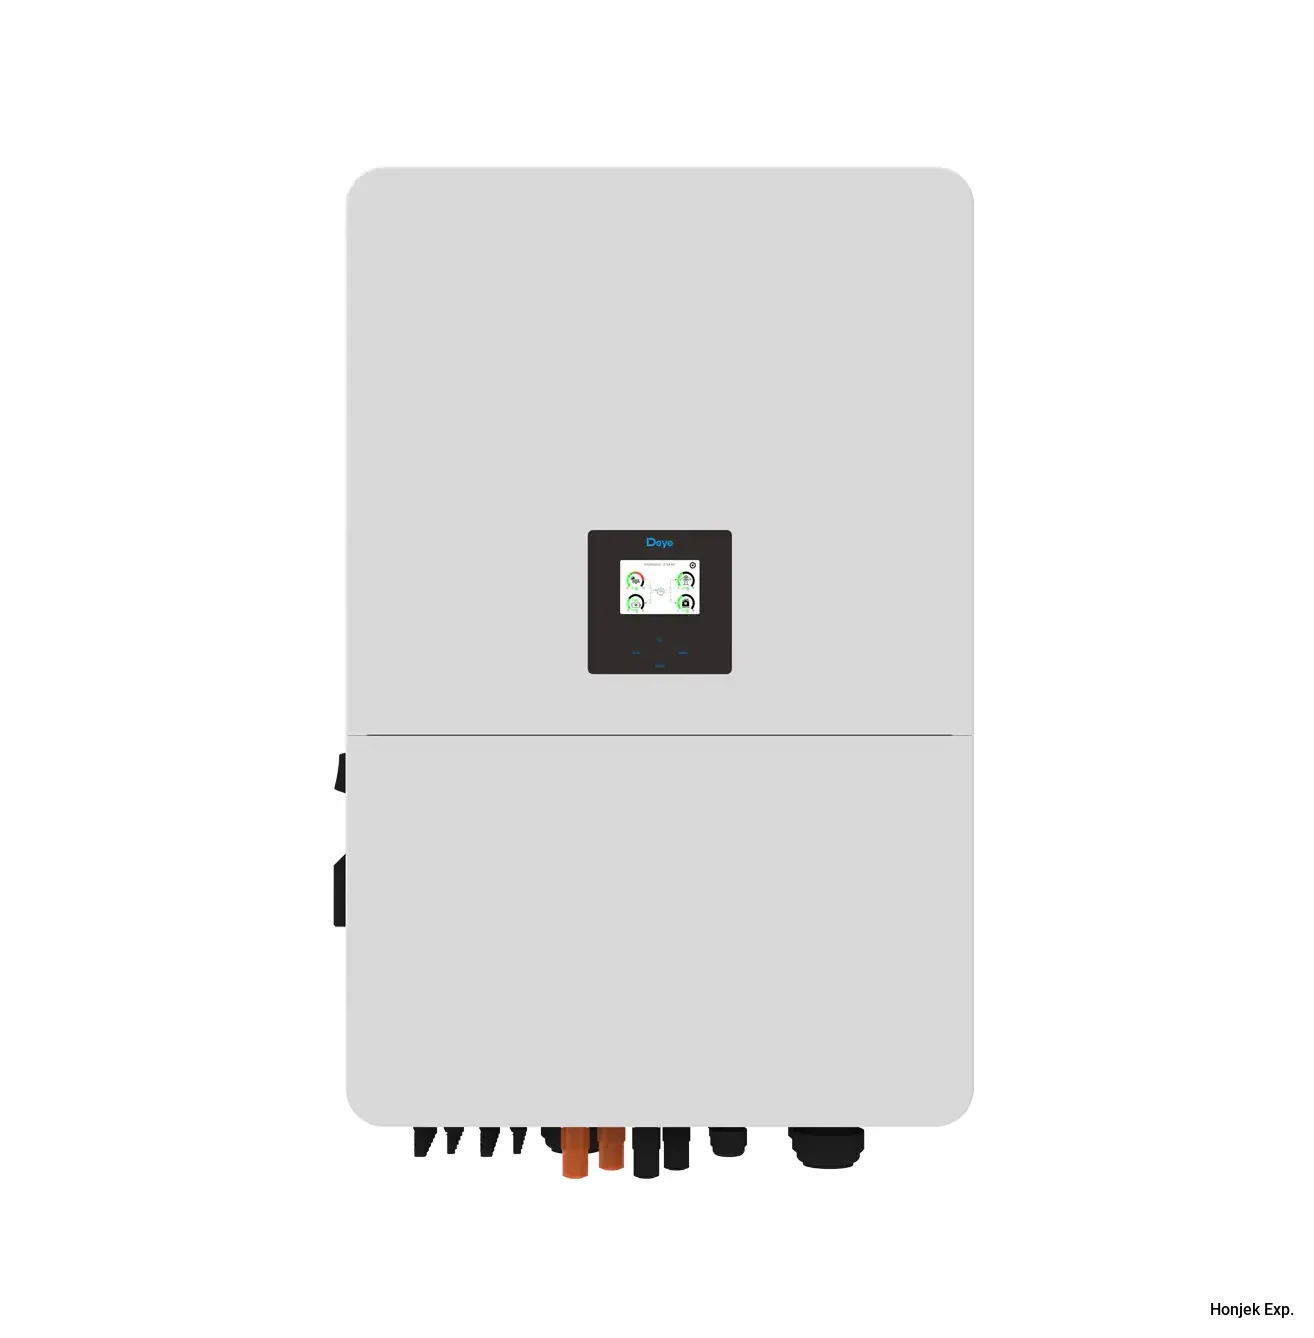
How to Size a Solar Inverter for Nigerian Homes (Complete Practical Guide)
Nigeria’s unstable grid power has pushed many households toward solar energy solutions. However, one of the most common mistakes homeowners make is buying the wrong inverter size. An undersized inverter will constantly trip or fail, while an oversized one increases project cost unnecessarily. This guide explains how to correctly size a solar inverter for Nigerian homes, using a practical engineering approach used by professional installers.

E-commerce in Nigeria: Navigating the Challenges and Embracing the Opportunities
Nigeria, with its booming population and increasing internet penetration, is a hotbed for e-commerce growth. But like any emerging market, it comes with its own set of unique challenges and rewards. Today, we'll dive into the exciting world of e-commerce in Nigeria, exploring the hurdles and the potential that awaits.

How to Measure the Density of Gasoline
Measuring the density of gasoline can give you a better understanding of the uses of gasoline for various purposes in different types of engines.
Dial Indicator Types
THE DIAL INDICATOR TYPES There are two main dial indicator types: Lever Dial Test Indicator Plunger Dial Indicator Dial Indicator types: test lever indicatorLever Dial Test Indicator Dial Indicator Types: Plunger IndicatorPlunger Dial Indicator Both dial indicator types have similar features while functioning differently. Understanding the differences in function and the variations in the characteristics of each will help you determine which is the correct instrument for your application. In this article, we go over each indicator type in detail. We discuss functions, features, and their typical applications. Let’s start with Plunger Dial Indicators. PLUNGER DIAL INDICATOR Plunger Dial Indicators (often referred to simply as Dial Indicators) use a plunger that moves in a straight line to magnify and convert the force applied to the contact point (at the bottom of the plunger) into a measurement. FEATURES AND USES Generally larger and heavier than test lever dial indicators, plunger dial indicators are most suited to repetitive, comparative measurements. An example of this is that once set up on a stand or height gauge, plunger dial indicators are great at quickly checking the measurements of a batch of components to ensure they are within the required tolerance. Dial Indicator Types - Baty analogue Plunger Dial Indicators are often used to perform comparative measurements Plunger dial indicators are also often used in machine setups to monitor changes in the alignment of machine parts and components. The plunger dial indicator needs to be positioned at an angle of 90° to function accurately. Using an indicator stand is the best way to do this, with the plunger slotting into a mounting. Plunger dial indicators are also better suited for measuring larger movements than lever dial test indicators, due to cosine error, explained below. LEVER DIAL TEST INDICATOR Lever Dial Test indicators are also known as a lever-type indicator, a DTI or simply a dial test indicator. The bottom of the body houses a pivot with a probe (the lever), its distinguishing feature when visually comparing the two dial indicator types. FEATURES AND USES Lever dial test indicators are more suited for measuring small movements than their larger cousins, for example checking linear and geometric features on a component. Lever indicators are commonly used to measure the amount of material removed during grinding or milling. The lower spring force and angled movement of the lever responds dimensional changes. Generally speaking lever indicators are used to monitor small changes during machining or to measure geometric features such as ovality or runout. Dial Indicator types: test lever indicatorLever Dial Test Indicator The lever contact is used to test the flatness of surfaces PROBE/CONTACT POINT LENGTH AND DIAMETER The length and diameter of the contact point needed will depend on the application. A long thin probe may be required to reach into a narrow recess for example. It is possible to purchase probes/contact points of different sizes for specific uses. However, it is important to use the brands (or brand recommended) products and to calibrate the instrument ready for the new application. Using a length of probe, that the test indicator is not designed to accommodate can cause incorrect magnification of the force, resulting in incorrect measurements/readings. Considering this, buying a lever dial test indicator with a specifically suited probe/contact point for each application is possibly the best bet. The shape, size, and material of the contact point is a consideration discussed later in the article, and is relevant for both dial indicator types. COSINE ERROR A little basic trigonometry (if there’s such a thing!) is required to explain and fix the most common error when using a test lever dial indicator. WHAT IS COSINE ERROR? Before we get into any formulas, let’s explain what causes the error. The test lever dial indicator provides the most accurate measurements when its probe is positioned parallel to the surface of the item being measured, as shown here. test lever position for accurate measurements The contact point of the probe must be parallel to the surface for accurate measurements If it isn’t possible to position the dial indicator parallel to the measuring object then the probe can be angled while the contact point achieves the required parallel position, as shown below. test lever position for accurate measurements The probe is set at an angle from the body of the indicator, keeping the contact point parallel to the surface When the contact point of the measuring probe is not parallel to the measuring surface, it will result in inaccurate measurements, an error known as a cosine error. How not to position a test lever indicator Cosine errors occur when the probe is not parallel to the surface, resulting in inaccurate measurements HOW TO AVOID COSINE ERROR To avoid cosine errors the test lever indicator must be set on a stand and positioned at a 0° angle, ensuring it is parallel or radial to the measuring surface. However, depending on the application, environmental factors such as material position and available space mean this is not always possible. Cosine errors will inevitably occur in some situations, and it is important to know how to adjust for them. HOW TO FIX COSINE ERROR This is where the math comes in. The triangle formed between the contact point/probe and the measuring surface can calculate the amount of error present in the measurement. How to Fix Cosine Error The triangle created between the measuring surface and the contact point can be used to calculate the cosine error We need to know the unknown angle of the right-angled triangle, which is calculated like this: We know the length of the hypotenuse – it is the length of the contact point. We (should) know the length of the adjacent side of the triangle – it is the length of (or part of) the measuring surface. We then calculate adjacent/hypotenuse. We then grab our calculator and hit the ‘cos-1’ key! Now we know the angle we use our calculator again to establish the adjustment we need to make to the measurement. Put the angle into your calculator and push the ‘cos’ key. Multiply the resulting number by the measurement reading, which will give you the correct measurement – simple! Note: We’ve tried to offer a quick and easy to understand calculation explanation. For a full recap on sine, cosine, tangent, and calculating angles check out this great article.
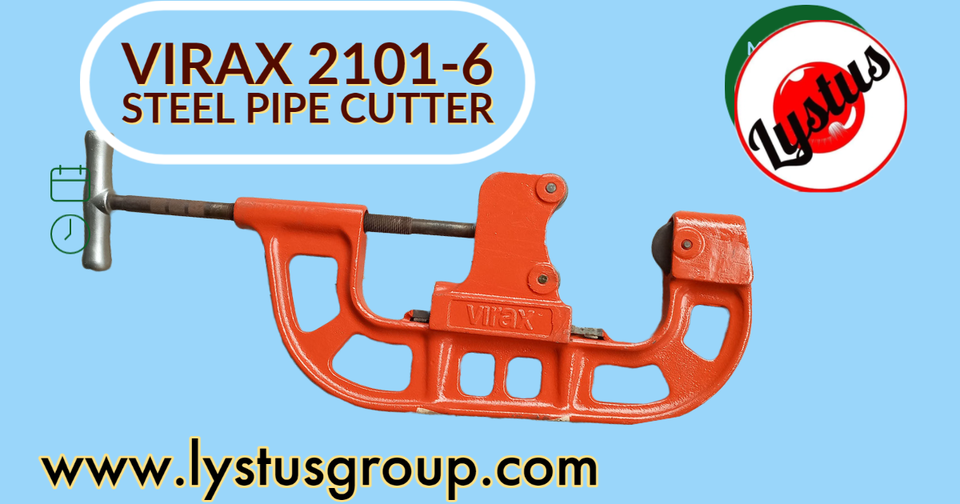
The Beginner's Guide to Pipe Cutters: Materials, Turning, When to Use, and More
Pipe cutters can save you a ton of time once you've got the hang of how to use them. They come in many varieties designed for all sorts of pipe sizes and materials, like copper pipes and PVC pipes, so check the product info before you begin to save yourself some wasted effort with the wrong tool. Below we've answered some of your most common questions about using a pipe cutter to help you out.

How to Read a Tape Measure
Always wanted to know how to take that particularly awkward measurement or how to take care of your tool? Perhaps you're interested in how particular trades use their tools? Then read on... Got a tip to share? Then get in touch!

Measuring With Outside Micrometer
If you are a machinist, manufacturing, or engine professional, exact measurements are an everyday must. When it comes to measuring cylindrical or spherical objects, an outside micrometer would be the best tool to use. A well calibrated micrometer can be difficult to use, but with patience and practice, this tool can be a part of your skill set.

How to Measure the Density of Gasoline
Measuring the density of gasoline can give you a better understanding of the uses of gasoline for various purposes in different types of engines.
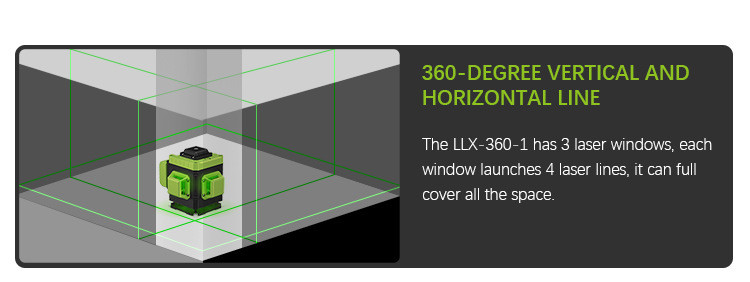
8 green laser levels to make sure your measurements are flawless
A green line laser level tool is a construction tool that uses a laser to detect the vertical position of the object. It’s used for measuring distances and heights, as well as for aligning objects on different levels. The green light laser level is basically a handheld device with a built-in laser that emits light in the infrared range. Green line lasers come in a variety of models, including handheld and tripod-mounted lasers. The best option for your site is to compare the features of all the models and choose the one that fits your needs. One thing to consider is how much money you want to spend on the unit. Generally speaking, more expensive units are more accurate but they cost more as well. That being said, let’s take a look at some of the best green light lasers in the market.
Recent Posts
A Complete Guide to Solar System Installation for Homes and Businesses
Solar Sizing Calculator – Calculate Solar Panels, Batteries & Inverter Size
How to Choose the Right Electrical Distribution Board for Your Home or Business in Nigeria
How to Size a Solar Inverter for Nigerian Homes (Complete Practical Guide)
E-commerce in Nigeria: Navigating the Challenges and Embracing the Opportunities
The Beginner's Guide to Pipe Cutters: Materials, Turning, When to Use, and More
Powering Innovation, Delivering Value.
Shop smart with Honjek Express Marketplace — your one-stop destination for quality electrical, solar, CCTV, and everyday products at competitive prices. Trusted service, verified products, and fast delivery you can rely on.
About Honjek Express
Welcome to Honjek Express — a fast-growing Nigerian online marketplace built to connect customers with quality technical products, engineering solutions, and reliable procurement services. Operated by HONJEK TECHNICAL LIMITED, Honjek Express combines technology, engineering expertise, and digital commerce to simplify access to solar energy products, electrical materials, CCTV security systems, industrial tools, technical books, and modern engineering solutions.
At Honjek Express, we focus on delivering trusted products, professional support, and value-driven services for individuals, businesses, contractors, institutions, and industries across Nigeria and beyond. Our platform is designed to bridge the gap between quality engineering products and customers seeking reliable, affordable, and durable solutions.
With years of practical experience in electrical installation, solar power systems, CCTV surveillance, industrial maintenance, and procurement services, our team understands the technical demands of modern projects. This enables us to recommend suitable products and solutions that meet real operational needs.
Our Core Services
Solar system products and accessories
Inverters, lithium batteries, and solar panels
CCTV cameras and security surveillance systems
Electrical installation materials and industrial components
Engineering procurement services
Technical books and educational materials
Professional technical consultation and support
Why Choose Honjek Express?
Quality and verified products
Technical engineering expertise
Competitive pricing
Reliable customer support
Fast response and delivery process
Commitment to innovation and customer satisfaction
Our mission is to promote modern engineering awareness, improve access to clean energy and security technology, and support businesses and homes with dependable technical solutions.
At Honjek Express, we do not just sell products — we provide practical engineering solutions that power businesses, secure properties, and improve lives.
Visit Honjek Express to explore our products and services.